Trap music has become one of the most popular genres in modern music, characterized by its hard-hitting bass, rapid hi-hats, and overall high-energy beats. If you’re looking to create your own trap drum sounds, Logic Pro X is one of the best DAWs to help bring your vision to life. This guide will take you through every step of making trap drums in Logic Pro X, from setting up your project to refining your sounds. Whether you’re a beginner or experienced music producer, this guide is designed to help you create powerful trap drums that will elevate your music to the next level.
Setting Up Your Logic Pro X Project
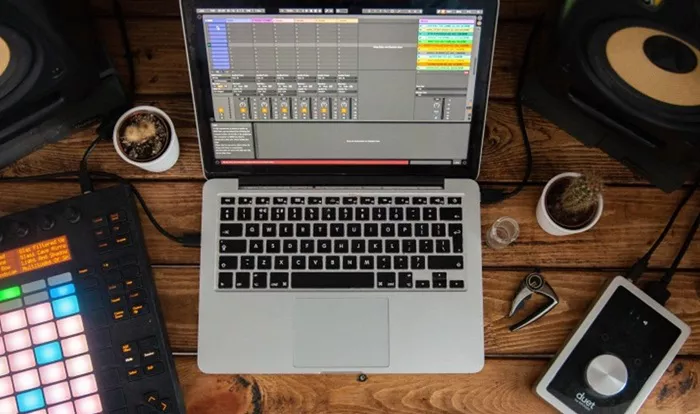
The first step to creating trap drums in Logic Pro X is setting up your project correctly. Here’s how to do it:
Step 1: Open a New Project
Start by launching Logic Pro X and opening a new project. Select an empty project template to ensure you have a blank slate for your trap beats.
Step 2: Set the Tempo
Trap music typically has a tempo range between 130 BPM and 160 BPM. Set your project’s tempo to match the vibe you want to create. You can easily adjust the tempo in the transport bar at the top of the screen.
Step 3: Set Up Your Tracks
Now, add a software instrument track for your drums. You’ll be using a drum kit plugin, and you may want to use a sampler instrument to load drum samples. You can create multiple tracks for different elements like the 808 bass, snares, claps, and hi-hats.
Choosing the Right Drum Sounds
Now that your project is set up, it’s time to select your drum sounds. Trap music relies heavily on specific drum sounds, and Logic Pro X provides a variety of options. You can use stock sounds, or you can import third-party drum packs for even more variety.
Step 4: Use the Drum Kit Designer
Logic Pro X has a built-in Drum Kit Designer that can be useful for making trap drums. You can load a kit that fits the trap genre and start tweaking the individual sounds. For example, you can select a tight kick drum, a snappy snare, and bright hi-hats. Play around with the kit’s settings to match the trap style you’re going for.
Step 5: Importing Drum Samples
If you prefer to use specific trap drum sounds, Logic Pro X allows you to import third-party drum samples. Drag and drop the sounds you like into your project. These might include the signature 808 basses, crisp snares, and hi-hats, which are essential to the trap genre.
Building the Trap Drum Pattern
With your sounds selected, it’s time to build the drum pattern. Trap music is all about rhythm, and you’ll need to create a pattern that drives the track forward.
Step 6: Lay Down the Kick Drum
The kick drum is the foundation of any trap beat. Begin by placing the kick on the downbeats, usually in a 4/4 time signature. In trap music, the kick tends to hit harder and more syncopated compared to other genres.
Step 7: Add the Snare Drum
The snare drum typically plays on the second and fourth beats in a trap beat. Make sure your snare sound is punchy and crisp. You can layer multiple snare sounds for extra impact.
Step 8: Hi-Hats and Rolls
One of the most defining features of trap drums is the rapid hi-hat rolls. Use Logic Pro X’s Quick Swipe Comping or MIDI Roll to create fast hi-hat patterns. These can be 16th or 32nd notes, with occasional triplets and rolls to add movement to the beat. Don’t be afraid to experiment with different velocities to create a more dynamic pattern.
Step 9: 808 Bass and Sub-Bass
The 808 bass is a key element of trap music. Load an 808 sample into a sampler or use a plugin like Sub Bass to create deep, resonant bass. Sync the bass with your kick drum to achieve the signature trap sound. Experiment with pitch bending and slides to make your 808 more dynamic and engaging.
Processing and Mixing Your Trap Drums
Once your trap drum pattern is laid out, it’s time to process and mix the sounds. Trap beats need to be punchy and clean, so it’s important to use the right effects to polish your drum sounds.
Step 10: Add Compression
Compression helps glue your drums together and gives them a punchy feel. Use a Compressor on your drum tracks to tighten the dynamics. Adjust the threshold, ratio, attack, and release settings to make the drums sound cohesive.
Step 11: EQ Your Drums
Equalization (EQ) is essential for shaping the sound of your drums. Cut unwanted frequencies and boost the important ones. For example, you can boost the low-end of your kick and 808 bass, and cut any muddiness in the midrange. Use a high-pass filter to remove unnecessary low frequencies from your hi-hats and snare drums.
Step 12: Add Effects and FX
To further shape your drums, add some effects like reverb, delay, or distortion. Apply a small amount of reverb on the snare or claps to create space. A slight delay on the hi-hats can also give them more depth.
Fine-Tuning Your Trap Drum Sound
After processing your drums, it’s time to make any final adjustments and fine-tune the overall sound.
Step 13: Humanize the Rhythm
To avoid your drums sounding too robotic, make slight adjustments to the timing and velocity of your MIDI notes. Humanizing your rhythm makes the beat feel more natural and organic.
Step 14: Layer Your Drums
For a fuller sound, consider layering different drum samples. For example, layer a punchy snare with a clap to add extra impact. Ensure the sounds blend well together and don’t conflict in frequency range.
Conclusion
By following these steps, you can create a powerful trap drum sound in Logic Pro X. Remember that creating great trap drums takes time and experimentation, so don’t be afraid to try different sounds and patterns. With the right drum sounds and processing, your trap beats can sound professional and ready to hit the charts. Keep practicing and experimenting with different techniques to refine your craft, and soon you’ll be producing some of the hardest-hitting trap drums in Logic Pro X!
Related topics:


